Setting Up Your First Home Theater: A Step-by-Step Guide
Key Takeaways
- Determine the right location for your home theater.
- Select essential equipment, including display, audio, and seating.
- Understand the importance of proper wiring and connections.
- Optimize your space with smart lighting and soundproofing techniques.
- Test and calibrate your setup for the best viewing experience.
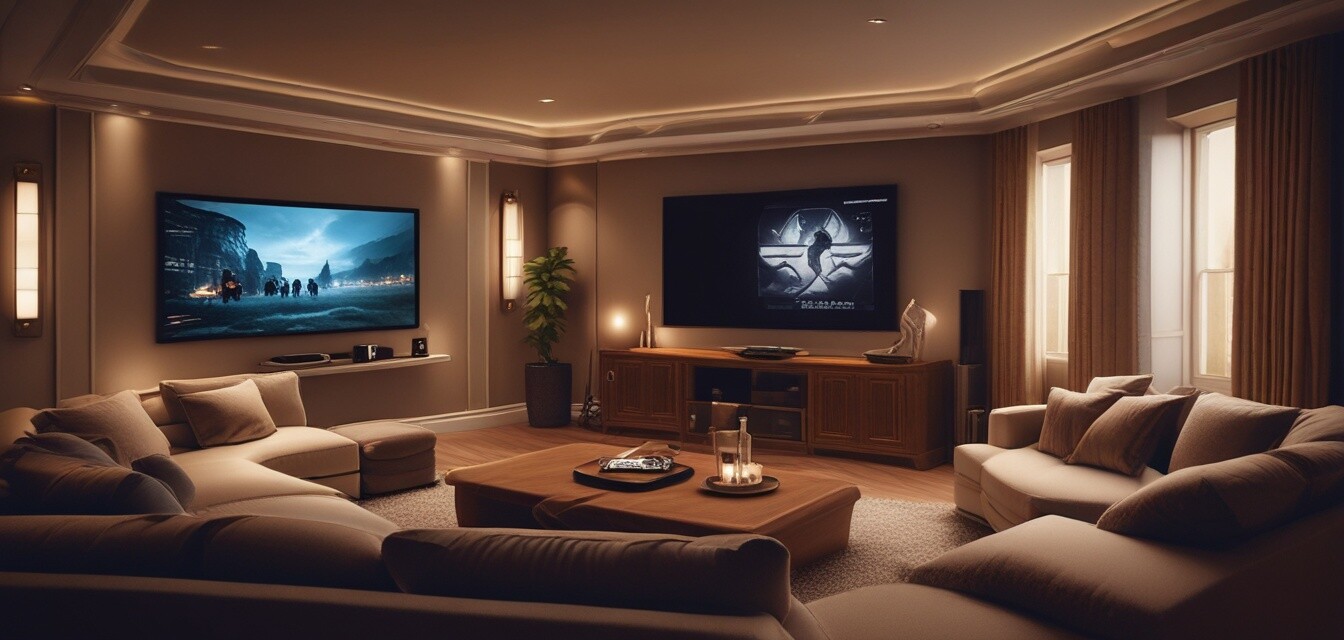
Creating your first home theater can seem overwhelming, but with the right guidance, you can transform any space into a cinematic experience. This guide breaks down the steps needed to select the right equipment, design your layout, and set everything up to ensure you get the best quality for your viewing pleasure.
Step 1: Choosing the Right Location
The first step is finding the ideal spot for your home theater. Consider the following factors:
- Room size and shape
- Access to power outlets
- Distance from windows to control light
- Acoustic properties of the room
Step 2: Essential Equipment
Here is a simple table to help you choose the essential equipment for your home theater:
| Equipment | Function | Considerations |
|---|---|---|
| Display (TV/Projector) | Visual output | Size, resolution |
| Audio System | Sound output | Type (5.1, 7.1), surround capabilities |
| Streaming Device | Access to media | Compatibility with services |
| Seating | Comfort during viewing | Space and layout |
Audio Systems Explained
Different audio systems can greatly enhance your viewing experience. Here are the most common types:
- Soundbars: Easy to set up, space-efficient.
- Surround Sound Systems: Immersive audio experience.
- Wireless Systems: Flexibility in placement.
Step 3: Optimal Placement of Equipment
Placement is crucial for achieving the best performance. Consider the following:
- **Display**: Centered at eye level when seated.
- **Speakers**: Surround your seating area for balanced sound.
- **Seating**: Position a suitable distance away from the display, generally 1.5 to 3 times the display size.
Step 4: Wiring and Connections
Proper cabling is essential for both safety and performance. Here’s a checklist of what to do:
- Use high-quality HDMI cables for video and audio connections.
- Ensure all devices have power connections nearby.
- Label cables to avoid confusion.
Step 5: Lighting and Soundproofing
Proper lighting can enhance your viewing experience while soundproofing can reduce external disturbances:
| Aspect | Tips |
|---|---|
| Lighting | Use dimmable LED lights and blackout curtains. |
| Soundproofing | Add acoustic panels and rugs to absorb sound. |
Step 6: Testing and Calibration
Finally, after setting up, it's important to test and calibrate your system:
- Run calibration tools on your audio system.
- Adjust picture settings on your display.
- Test different media to ensure satisfaction with both audio and visual quality.
Key Tips for a Successful Setup
Tips for beginners
- Start with the basics and upgrade over time.
- Read reviews before making purchases.
- Consider your personal viewing habits and preferences.
Conclusion
Setting up your first home theater can be a rewarding project that enhances your entertainment experience. By following these steps, you can create a space that you and your family will enjoy for years to come. For more tips on related topics, check our How-To Articles page to learn how to get the most out of your electronic devices!
Pros
- Enhanced entertainment experience.
- Customization to fit personal taste.
- Potential for a social space for friends and family.
Cons
- Can be costly depending on equipment.
- Initial setup can be time-consuming.
- Requires maintenance and updates over time.